In this guide will be shown how to make a photo album
gallery on website with thumbnails, navigation. For this task we need to download Flexible Album Studio freeware and install it.
System requirements:
Windows 98/Me/2000/XP/2003/Vista/7
After installation process please run the “fa.exe”
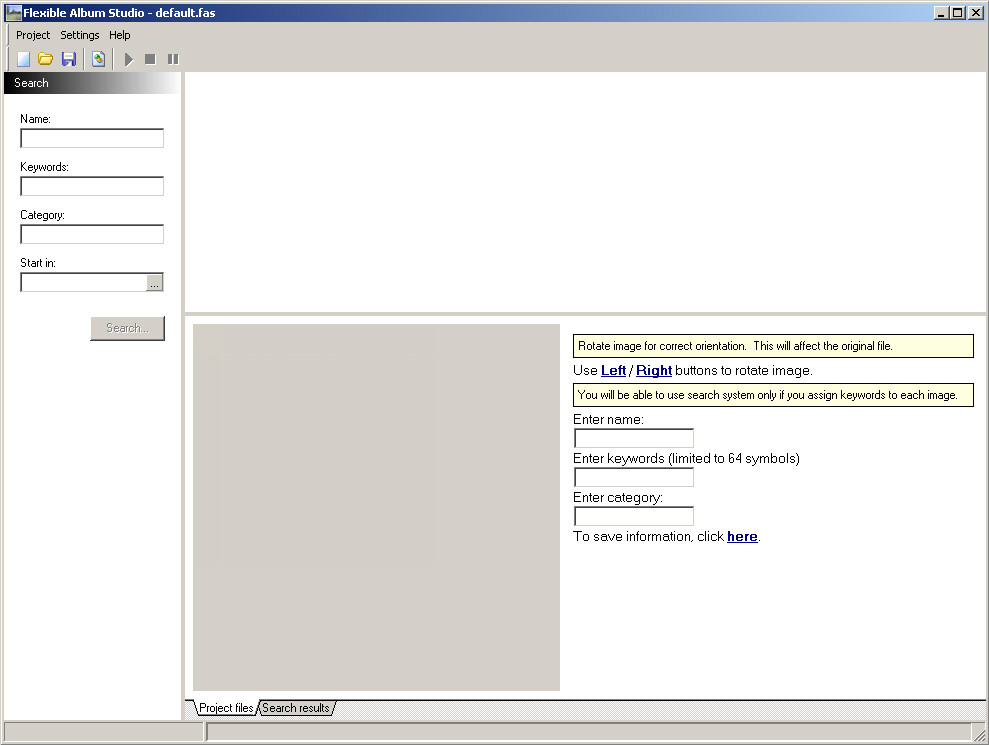
from “Program Files\Flexiblesoft\Flexible Album Studio\” folder. The main
program window will appear.
Please copy all images/photos to the temporary folder,
for example “h:\Temp\Photos\”. Let the created web pages will be placed into “h:\Temp\Website\”
on your hard drive, where h: - volume letter in your Windows OS.
Please select from main menu – Project – Properties …(CTRL+Alt+S)
to adjust Project settings:

For our example, we have selected “simple” style,
which could be previewed by pressing a small button to the right – shown with
the doubled red arrow
Title – “My Vacation Photo Gallery” will be placed as
a caption on each web page, generated by Flexible Album Studio freeware. The Name
– “Antalya” will be shown as a top header on all pages also. Please select the
appropriate Encoding, if your Title and Name will be in your native language. For
our guide we have found 12 photos, so Thumbnail Parameters we have selected
Rows:4 & Col:3, press “Next” button.
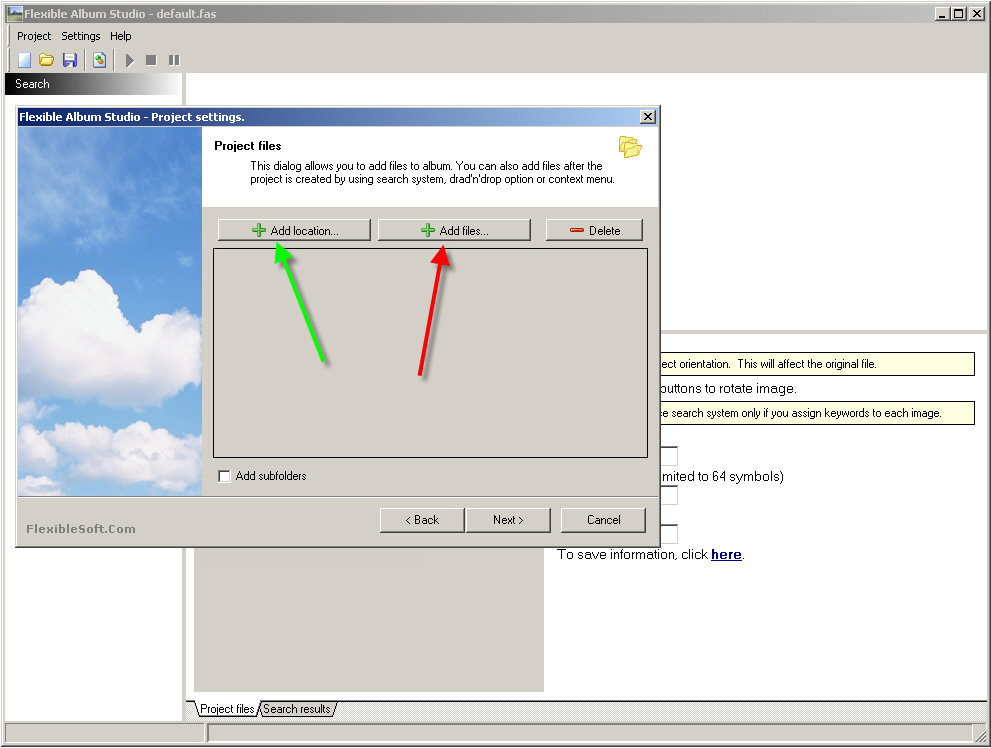
Press Add location… (green arrow) to select folder
with source images – in our case it is “h:\Temp\Photos\”, or select group of
files by pressing Add files… button (red arrow), then press “Next” button.
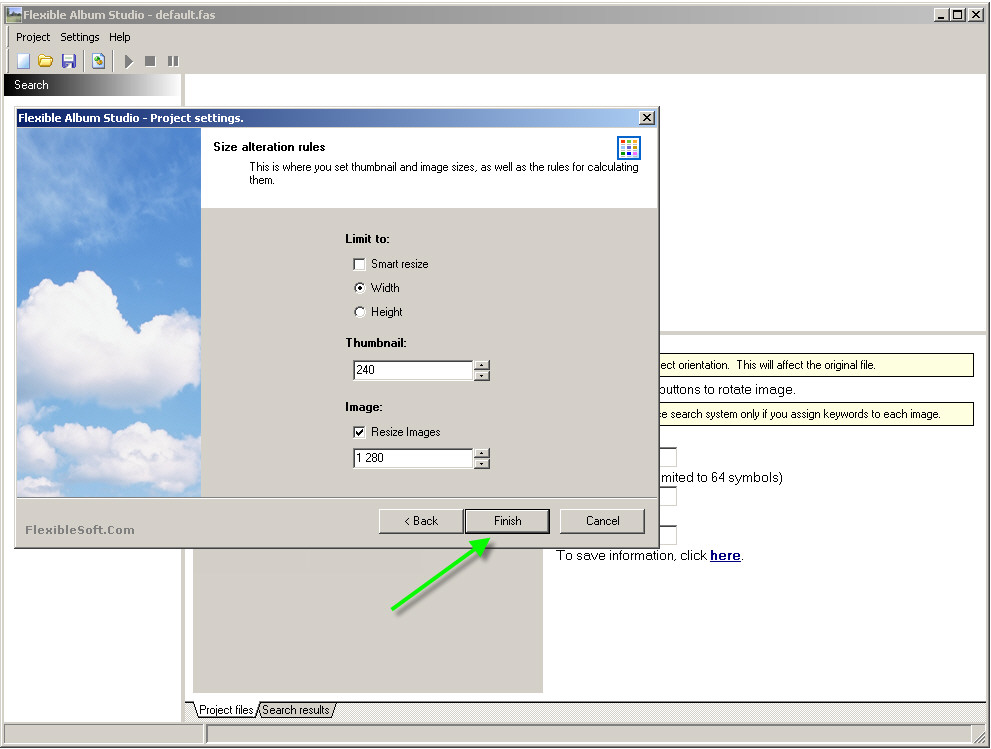
Now, we can define Thumbnail size for the comfortable
images preview, in our case this is 240 pixel by Width and we Resize image to
the Web optimal, 1280 pixels, as shown. You can select 1024 or 800 pixels to
decrease output JPG file’s size. Then press “Finish” button (green arrow).
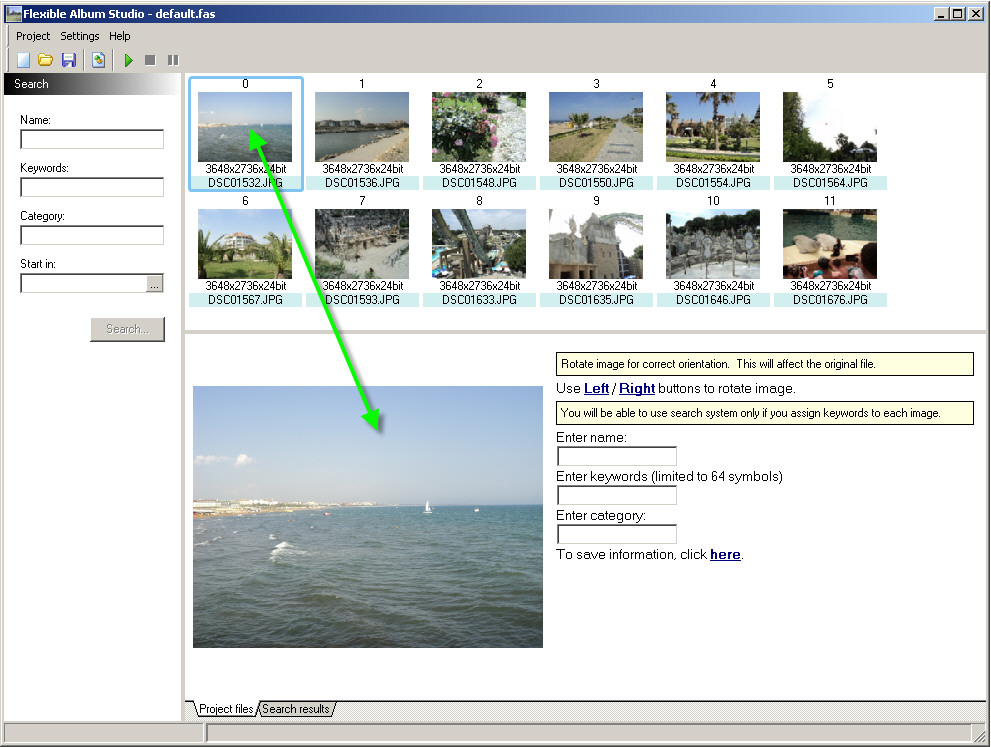
Now, we can see our 12 photos from 0 to 11 numbered.
To select any photo, click once on it to preview it as shown by doubled green
arrow. Double click will open Flexible Album Studio full screen image View.
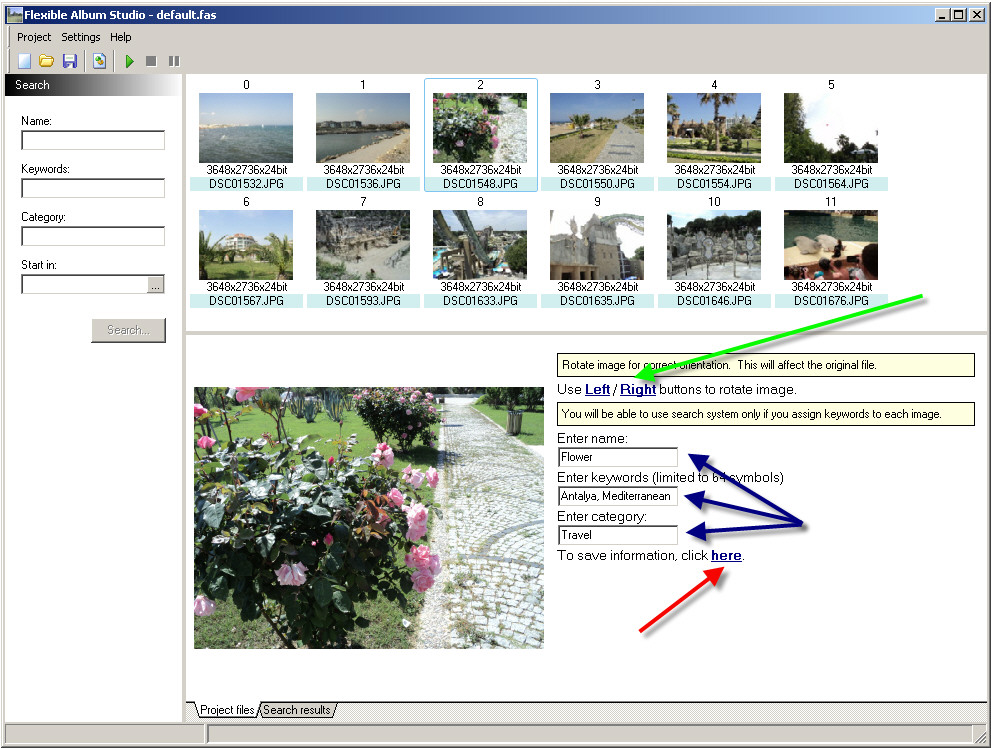
For image, numbered as 2, we will fill Name as “Flower”,
Keywords as “Antalya, Mediterranean” and Category as “Travel” – shown with blue
arrow. If you need to rotate source photos, please use Left/Right buttons –
shown with green arrow. To save all information you’ve entered – please click button
shown with red arrow. For the rest image pleas fill the same fields to describe
each photo in your web album. Then press “Start” button.
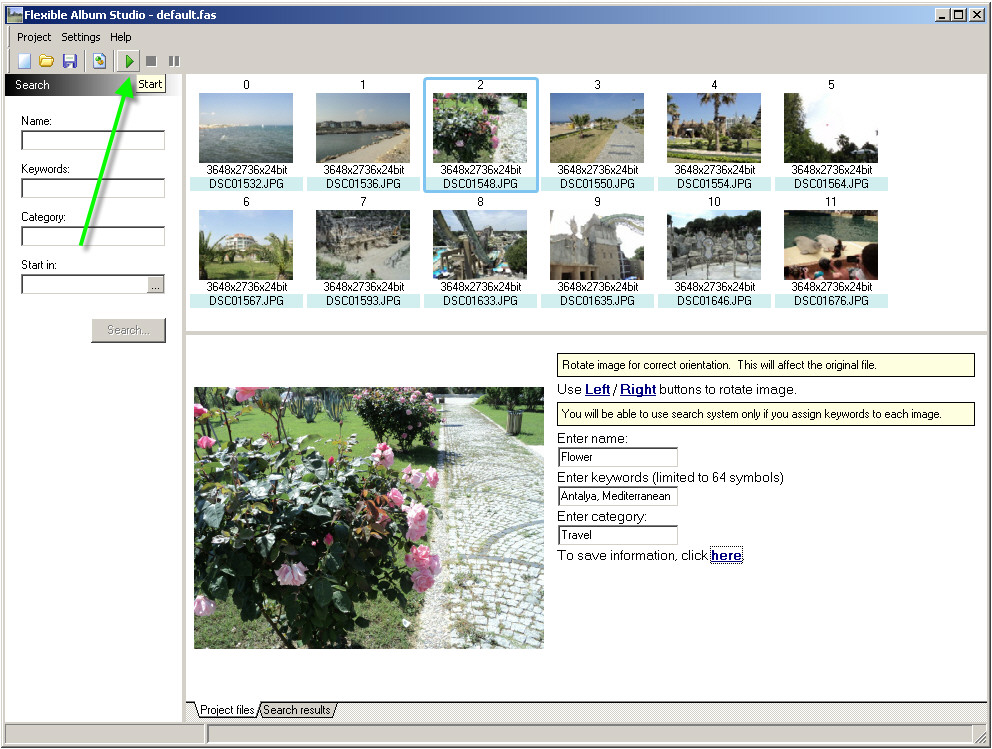
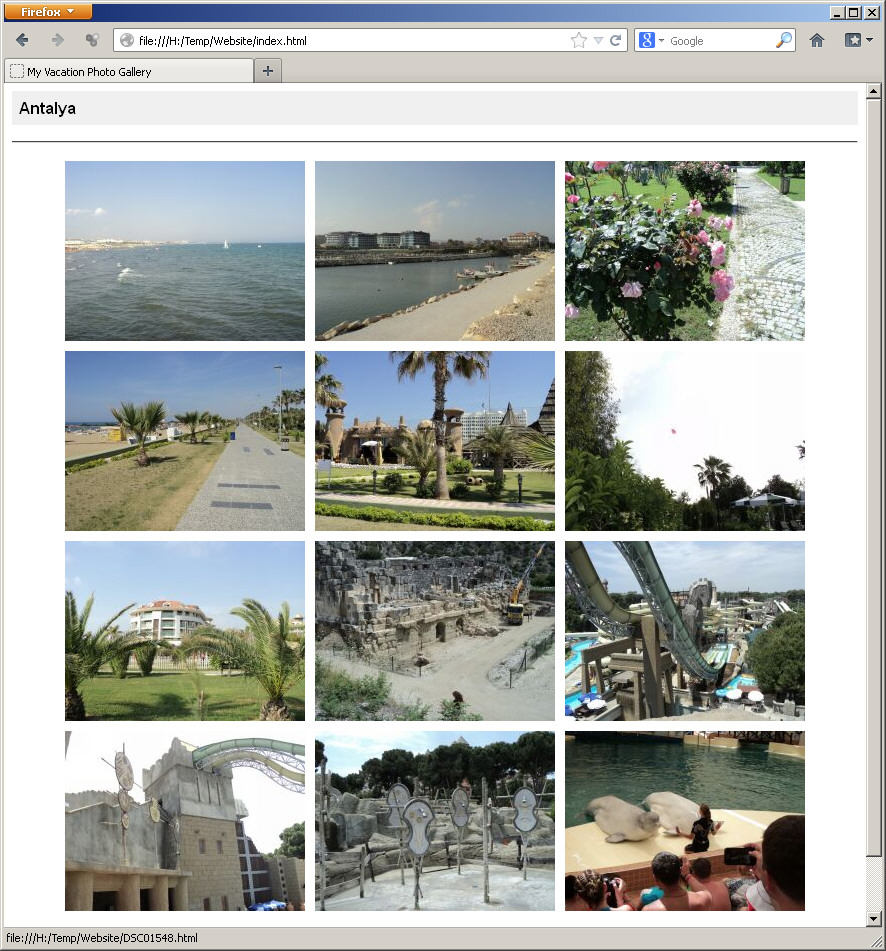
Program will start web photo gallery creation, and
after it will open resulting local path in your browser file:///H:/Temp/Website/index.html,
where “index.html” – main web page with thumbnails for your photo gallery.
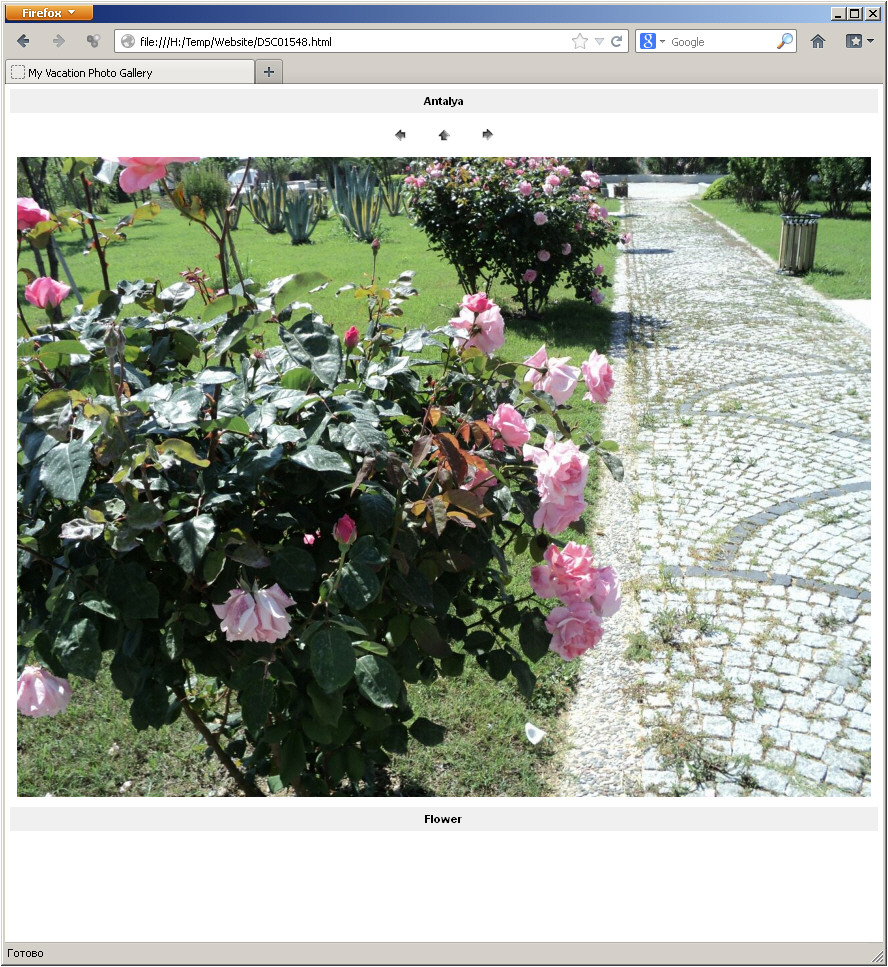
By clicking to the top right thumbnail we will see our
full image with 1280 pixels resolution by width, with “Antalya” header and the “Flower”
name as we filled earlier.
Please open Windows Explorer (Win+E), then browse to
the “h:\Temp\Website\” folder to view resulting folders and files. These
folders and files you can upload to your web hosting using Web form or free FileZilla FTP Client.
